
The ultimate DMX tutorial: everything about the DMX bus
DMX, also known as DMX512 and in the current version DMX512-A (standard ANSI E1.11), represents a digital control protocol which is used for the precise control of lighting technology (dimmers, spotlights, moving heads, …).
In the world of professional lighting technology, DMX control is an indispensable tool in the lighting sector. DMX originally comes from areas such as stage and event technology, is manufacturer-independent, easy to install and, above all, impresses with its reliability. Due to these advantages and as an open standard, DMX lighting control is used successfully in numerous other areas of application – such as DMX smart homes, industry and commerce.
DMX is a unidirectional data transmission. In other words, the transmitter sends the data to the receiver, but the receiver does not respond. There is also the standardized, bidirectional RDM protocol (Remote Device Management), which is based on DMX512-A (official Esta manufacturer ID database: Emilum: 0x55AA). The receivers can respond and be parameterized here. We wish you an informative conversation with our DMX tutorial:
Structure of the DMX Tutorial
What is DMX?
The DMX tutorial starts with the basics: what is DMX? DMX stands for Digital Multiplex and is the standard connection protocol for transmitting control signals to dimmers, relays, spotlights and other lighting devices. It enables a total of 256 states for up to 512 channels/devices and was originally standardized by the USITT.
Symmetrical data transmission via a two-pole data line is used as the hardware basis (RS-485). In addition to high interference immunity and a high data rate (250kbit/s), this also guarantees a potentially long cable length of several hundred meters. The bus topology used for this is implemented as a daisy chain, but more on this later.
How does DMX work?
The DMX standard enables the transmission and control of up to 512 independent channels. Each channel can in turn be divided into 256 steps, with each step representing a specific value. The value controls the function of the device, such as brightness, color, on/off, and much more.
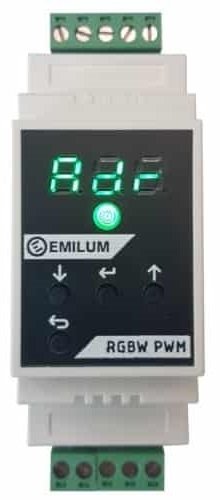
If, for example, a 4-channel LED dimmer is set to start address 10, it automatically occupies channels 10 to 13. 256 dimming or color values are then made available for all 4 channels! The dimmer then interprets the value at address 10 as the brightness of red and controls the red channel using PWM dimming.
| DMX Adresse | Dimmer-Ausgang |
|---|---|
| 10 | rot |
| 11 | grün |
| 12 | blau |
| 13 | weiß |
DMX lighting
DMX-controlled lighting, especially with multi-colored lights(LED spots, LED strips, …) offers precise and reliable control, with each channel requiring a separate DMX address. A device with more functions therefore also occupies several channels.
First you set the address on the dimmer and then the attached luminaire can be controlled via DMX. This defines which of the 512 channels the luminaire responds to. The start address is set; if the dimmer or actuator offers more channels, the subsequent addresses are automatically used.
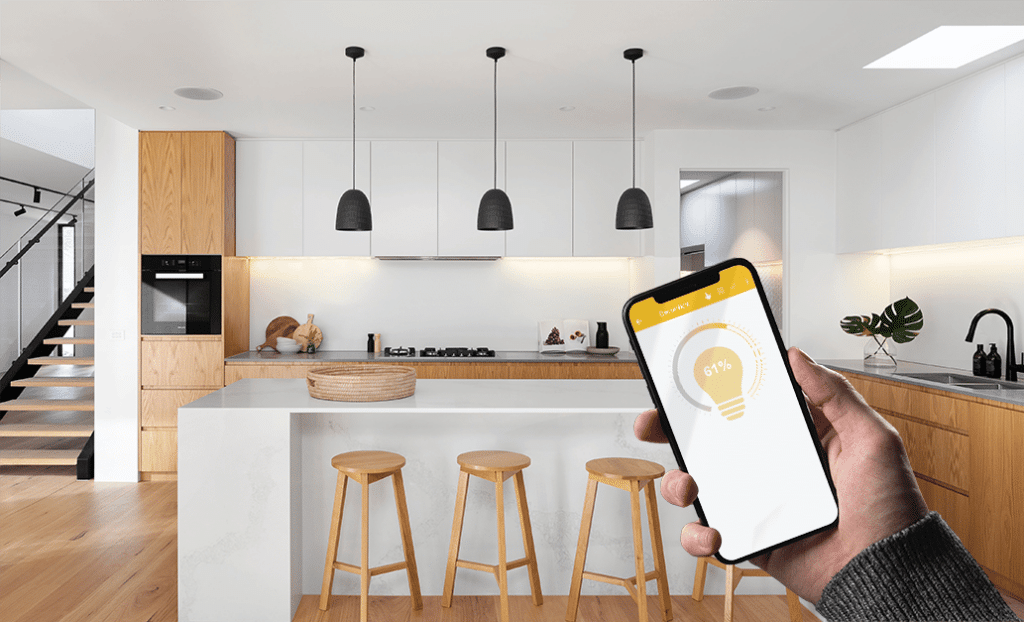
DMX transmission is ideal for applications where wired signal transmission is preferred and DMX is used to adjust the light according to personal preferences. With DMX, there are no limits to lighting and its rapid implementation.
In addition, DMX controls much more, such as heating thermostats, blinds, Venetian blinds and much more.
DMX addressing: simple and ingenious at the same time
An essential part of DMX is the correct addressing and therefore our DMX tutorial deals with this topic below: DMX addressing is crucial for communication between the control console and the lighting devices. Each device in a DMX network must be assigned a unique address so that it can be controlled individually.
Addressing is usually carried out via the device menu. This also has another decisive advantage: if you replace or exchange a device, you simply set the new one to the old address and it immediately takes over its function without having to be taught in again!
As already mentioned, the start address is set on the device and the successive channels are also assigned to this device.
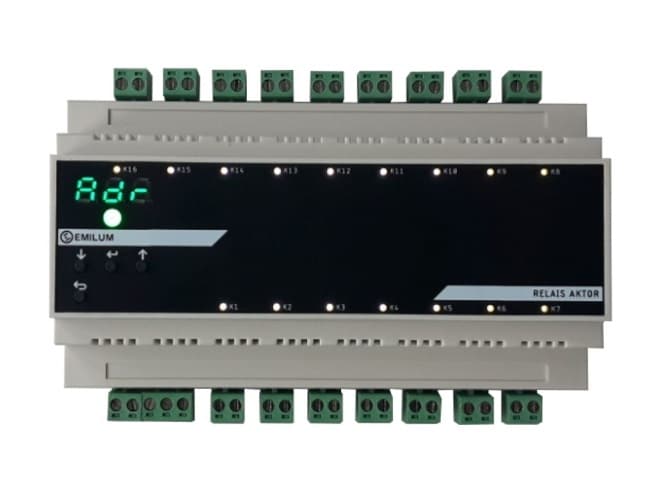
An example: You are using our relay top-hat rail actuator with 16 relays. You set the start address to 11 via the menu. This means that channels 11 – 26 are assigned to this device and can be controlled independently (addr. 11 = relay 1, addr. 26 = relay 16).
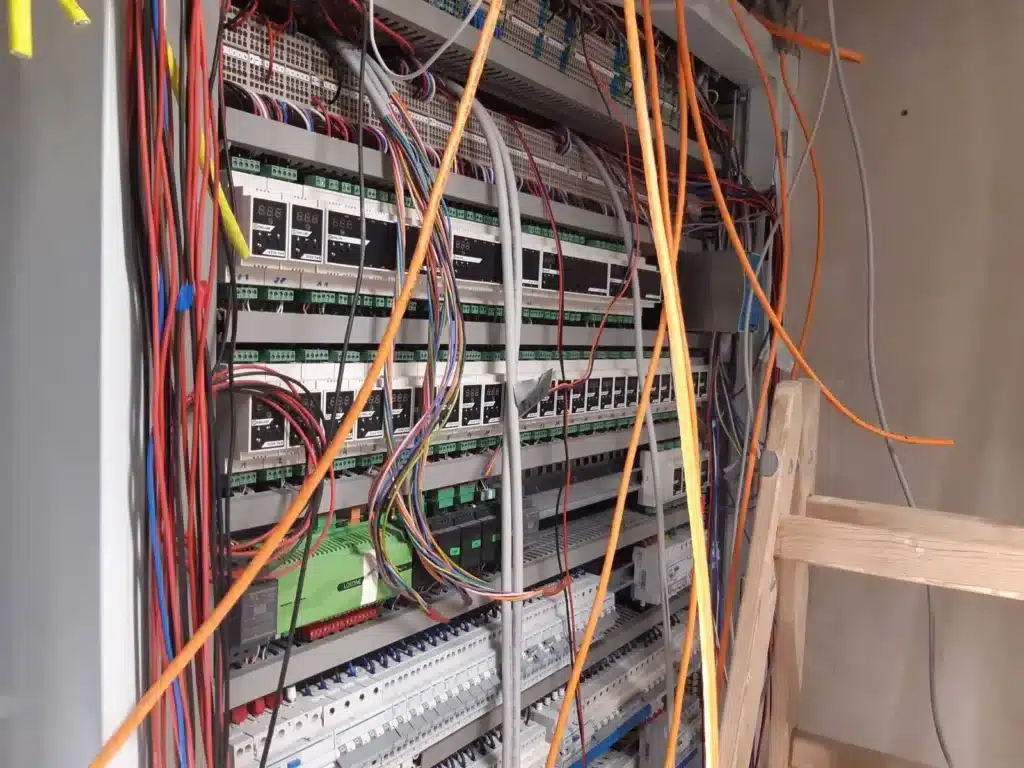
DMX cabling: What to look out for
A DMX network is wired in the form of a bus in which all devices are connected to each other serially (daisy chain). The devices are simply connected to the bus one after the other, regardless of the type of device (e.g. 230V dimmer, relay actuator, PWM dimmer). This makes it easy to install and expand the system.
You simply run the first cable from the output of the transmitter to the first device, the second cable then connects this device to the second and so on. Especially with smaller systems that are installed in a low-interference environment, it usually works without termination.
Twisted, shielded cables (twisted pair cables) should be used for DMX cabling. In our experience, however, this can be dispensed with on the top-hat rail in the control cabinet (with short cables).
DMX control and electrical specifications
DMX control signals are digital bit signals that are transmitted serially via an RS485 interface. They enable precise control of lighting effects and devices and offer a high level of reliability and stability. The DMX control uses a symmetrical transmission method on two lines. The differential levels are between ±1.5 V and ±5 V. This symmetrical transmission ensures a high level of interference immunity, as external interference affects both data lines equally and the level difference is evaluated at the receiver.
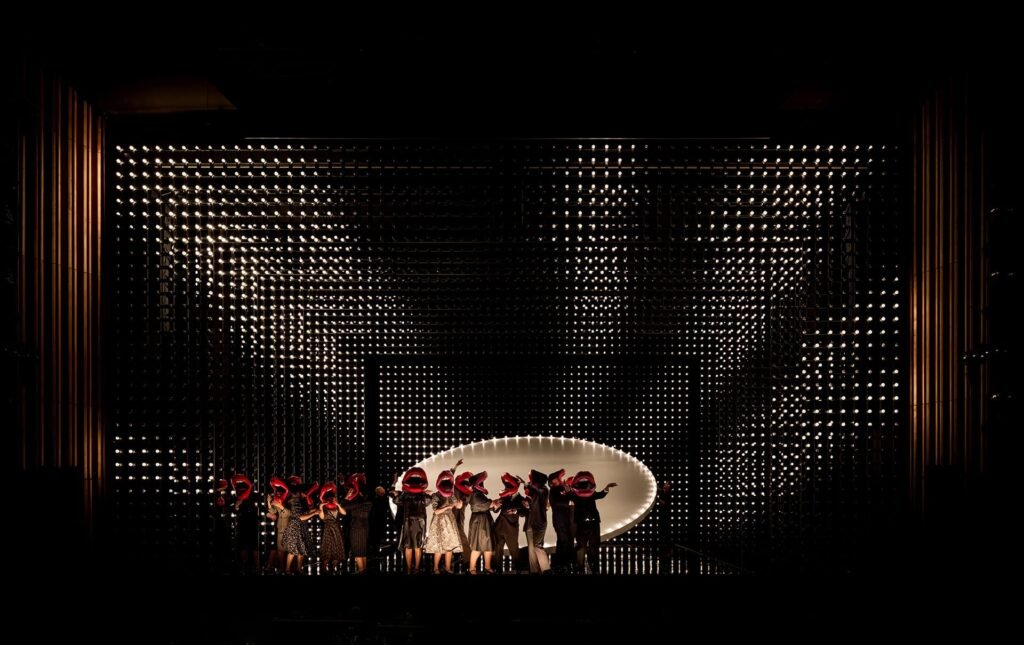
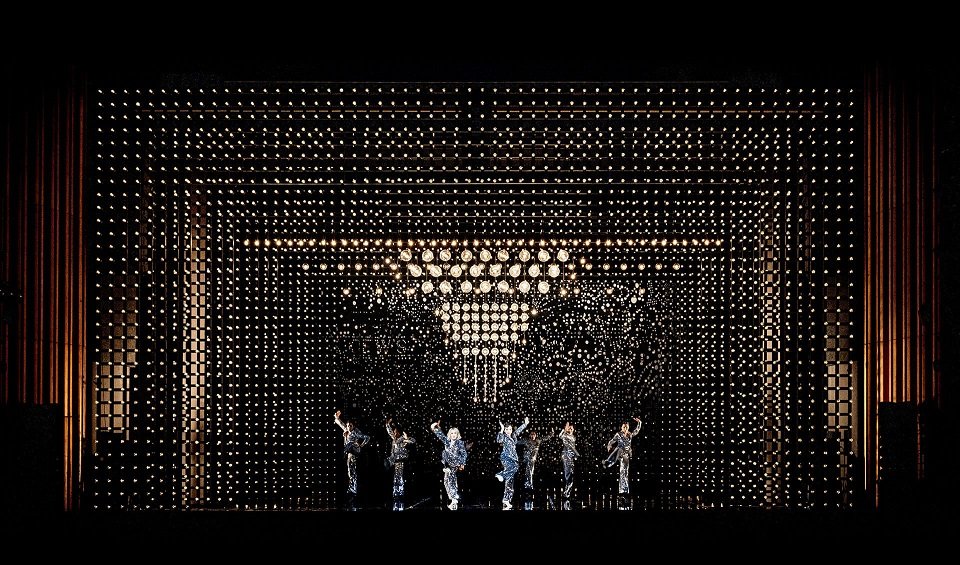
It may sound a little complicated at first, but in simple terms it says the following: Data transmission is both simple and insensitive to interference, even over long cable lengths. This is the main reason why it has established itself in stage (here is an example with 7000 24V light bulbs and over 1500 DMX controls for the Chicago Musical at the Komische Oper Berlin) and event technology.
The transmission rate is 250 kBaud and the time protocol is described well and simply on Wikipedia, which is why we have dispensed with our own description here.
Termination: Terminating resistor, yes or no?
This section of the DMX tutorial deals with the termination of the DMX bus. Terminating a DMX network with terminating resistors is important to minimize reflections and signal loss. Placing these resistors at the beginning and end of the bus can therefore improve the stability of the system.
The first device in the series – e.g. DMX gateway (signal converter from a bus/smart home system to DMX, e.g. KNX-DMX, DALI-DMX, …), DMX splitter, DMX booster – usually already includes this terminating resistor. This means that you only need to connect this resistor after the last device in the series and nothing stands in the way of proper DMX lighting control!
DMX universe and the advantages of the DMX splitter:
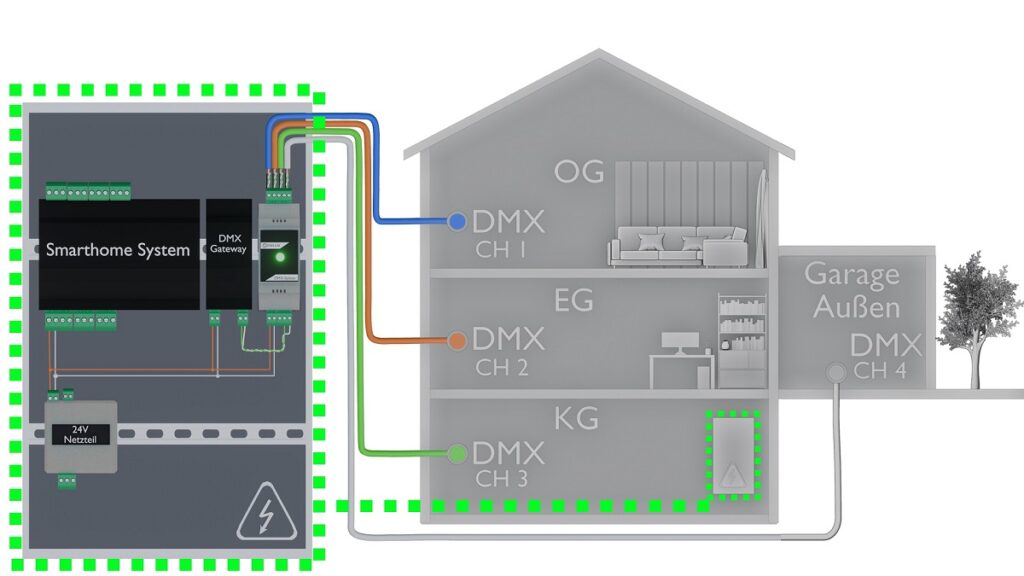
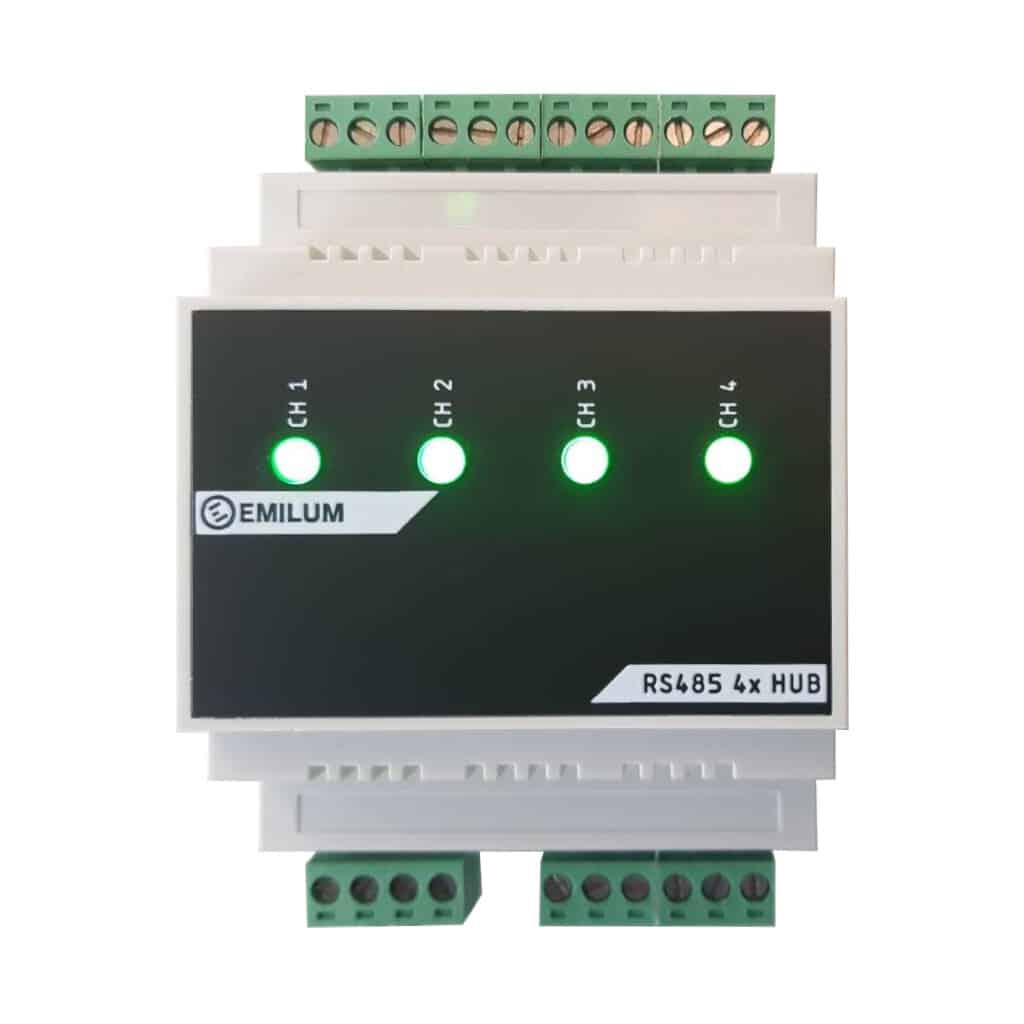
A DMX universe is a DMX network comprising up to 512 channels/devices. If required, additional DMX universes can be easily created using DMX splitters. This not only improves the signal quality – the device also works as a DMX booster by amplifying the signal and feeding it in again – but also makes the cabling clearer. This means that the cabling described above can be extended as a bus topology to form star-shaped DMX cabling.
For example, additional strands are created in a DMX smart home to which the devices are connected in series. This simply creates a separate DMX universe for additional distribution cabinets and/or the outdoor area. This in turn has the advantage that even if the bus system is (un)intentionally manipulated (e.g. short circuit) , the entire system is not affected! We recommend connecting no more than 32 devices to a DMX universe, as this keeps the respective bus load within limits. If there are more than 32 devices, we would separate and amplify the signal using a splitter.
Disadvantages of the DMX protocol
We also want to mention the disadvantages of this topology in our comprehensive DMX tutorial: Although serial DMX cabling is simple, it can lead to failures of the entire chain in the event of breakdowns or problems with one device connection in the setup. However, by using DMX splitters, these problems can be minimized to increase the reliability of the system. In addition, our DMX dimmers and DMX relays show error cases from the DMX bus on their display, for example if there is no DMX signal. This makes it easy to locate the position of the fault and rectify it at a later stage.
Future outlook for DMX Light
Although new network systems are emerging as potential successors to DMX signals, DMX remains an integral part of lighting technology due to its reliability and stability. The most impressive features of DMX are its value for money, simplicity and proven performance.
Not only the DMX dimmers and DMX relay actuators, but also the luminaires that can be controlled with them are crucial for a complete lighting system. Our high-quality LED spotlights, recessed spotlights, surface-mounted spotlights, LED strips and LED wall luminaires are the perfect addition to your DMX lighting control system.
As always, if an area is not explained in enough detail, please let us know in the comments and we will expand the DMX tutorial.
Supported RDM telegrams
Open standards instead of proprietary bus systems!
DMX lighting control is an integral part of the Emilum guideline: open standards instead of proprietary bus systems!
It is important to us that the customer can decide which products and manufacturers to choose. This is why you choose a bus system for which there are more than 1 or 2 manufacturers, so that you are not “nailed down”. If you want to expand your home installation later, for example, you are no longer dependent on the manufacturer’s portfolio and delivery options! Instead, you can choose freely from the devices available on the market. We at Emilum therefore rely on the following interface standards:
Many more guides, tutorials and more
Finally, we would like to recommend our service area to you. In addition to this DMX tutorial, you will find further useful help, ultimate tutorials (e.g. LED) and much more:
Our blog contains the following sections

Here you will find know-how contributions, articles and interesting facts on the topics of technology, LED and everything that goes with lighting.
Best-practice examples are explained as well as the technical details surrounding the topic of light.
Get to know our latest innovations and be the first to know about new products and technologies.
This section not only offers detailed presentations, but also shows interesting application possibilities.
Find out about the latest industry trends, exciting projects and interesting news about Emilum. Current topics from research and science are also presented in this section.