Fastening and connecting LED strips: Tips, tricks and best practice examples
Attaching, connecting, shortening and connecting LED strips are the central topics of these instructions. Clear graphics, comprehensible explanations and practical examples provide you with the knowledge you need!
We start with the accessories for LED strips in an informative and practical way, then turn our attention to gluing LED strips, provide helpful tips on extending and shortening strips, give an insight into dimming and provide instructions on connecting LED strips.
Required accessories for LED strips
In the following, we assume that you have opted for a variant with safety extra-low voltage. The best-selling products are 24V LED strips, as there is no risk of electric shock, smaller insulation distances must be maintained and, above all, better and cheaper dimming options are available than with 230V. Apart from the strip, you will need the following materials:
This converts the voltage from 230V to the required 24V DC voltage.
Make sure that the power is selected sufficiently.
You can find more support with the calculation and selection in the article Power supply unit for LED strips.
If you want to connect LED strips, you can either solder them or extend them with ready-made accessories. There are many different variants: With or without connecting cables, connecting strips directly or with intermediate cables and corner, T and X connectors
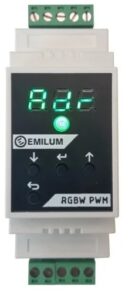
If you want to dim your LED strip and/or set a color, you need a dimmer with pulse width modulation. This is supplied with 24V from the power supply unit and the color/dimming level can be set manually, wirelessly or via a wired interface. It is then operated using an app or smart home system.
Fastening the LED strips
Installing and fitting LED strips is very simple and straightforward. To ensure that the lighting works permanently and satisfactorily, we as the manufacturer provide you with additional tips and best-case scenarios!
Gluing LED strips
LED strips are usually equipped with adhesive tape on the back. This allows you to easily and flexibly attach LED strips to different materials.
When bonding the LED strips, the following points must be observed in order to achieve the best possible adhesive bond:
- Open the packaging and DO NOT unroll the LED strip. Bear in mind that these are electronic components and that kinking, bending and twisting can lead to damage to sub-segments.
- Carry out a short light test before installation! Briefly supply the strips still on the reel with the required voltage (usually 24V).
- Clean the surface, especially greases and oils reduce the adhesion properties of the adhesives! Make sure that your cleaning agent is compatible with the surface and that it is completely dry.
- Optionally, very smooth, painted surfaces should be roughened in advance to increase the adhesion properties. Brushing or sanding is extremely suitable as a pre-treatment for painted or coated surfaces!
- Pay attention to the temperature of the surface and give the materials time to acclimatize. LED profiles in particular that have previously been stored outdoors or in a cellar should not be processed when cool. Gently warming the surface also increases the adhesive properties!
- Carefully remove the protective film from the back of the adhesive strip one by one. Do not remove the entire paper at once, as this may cause the LED strip to stick together.
- Start gluing the LED strip at one end. Unroll a small piece (no more than 50 cm) of the LED strip from the roll, remove the end of the protective film and attach the LED strip straight. Do not apply any unnecessary pressure to the electronic components and pay particular attention with COB LED strips make sure that there is no excessive pressure on the phosphor layer. There should be no air bubbles, as this causes surface irregularities and can lead to the LED strips peeling off in continuous operation.
- Work your way forward bit by bit by repeatedly unrolling a section of the strip and then pulling back the protective film from the adhesive tape. It is important that no unnecessary mechanical stress is exerted (twisting, bending or kinking the strips). Ideally, the LED strips should be held at a very shallow angle when they are glued on to reduce the risk of kinking.

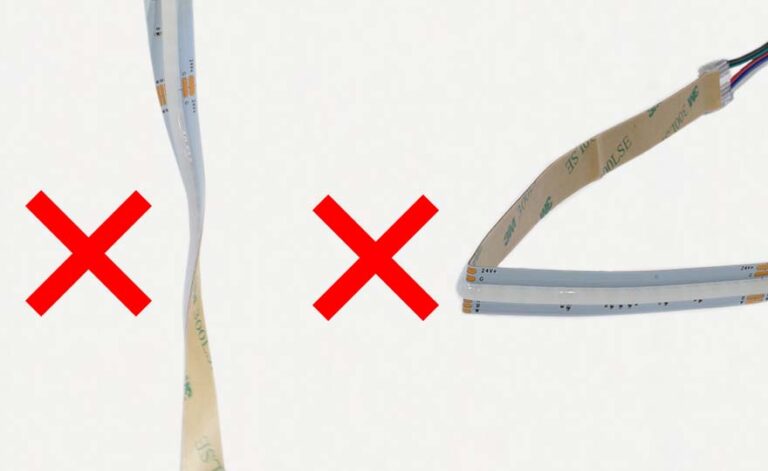
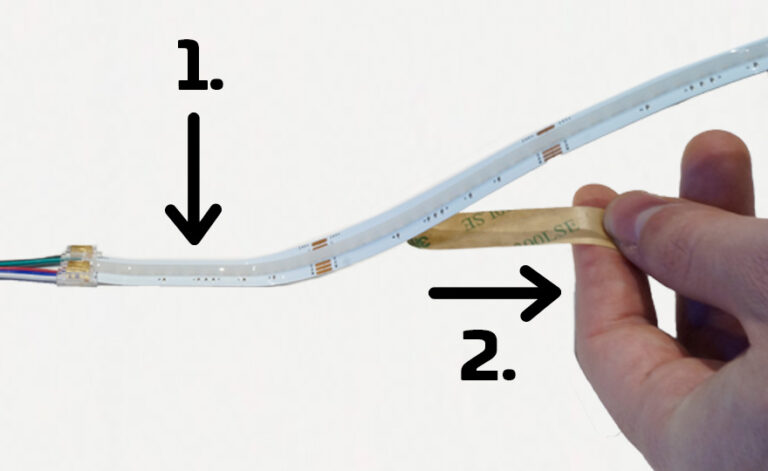
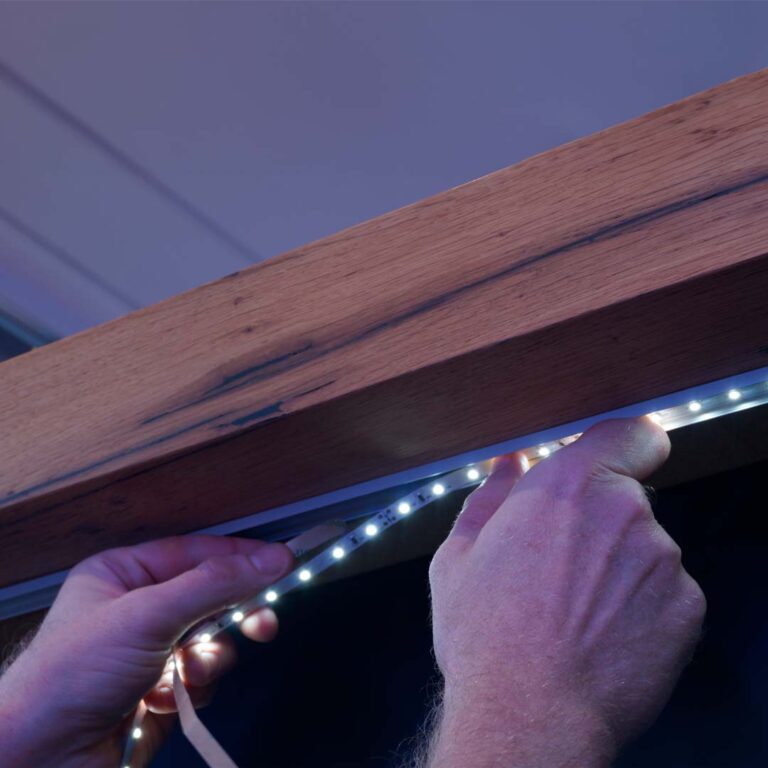
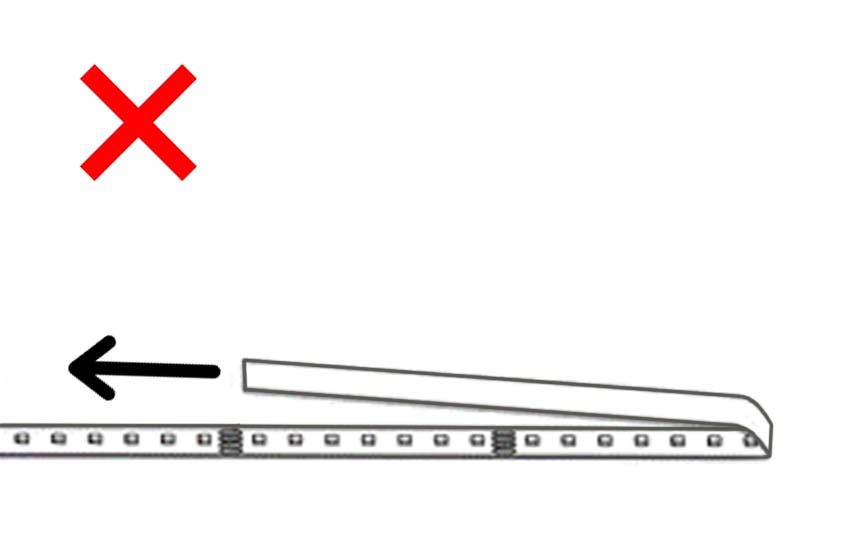
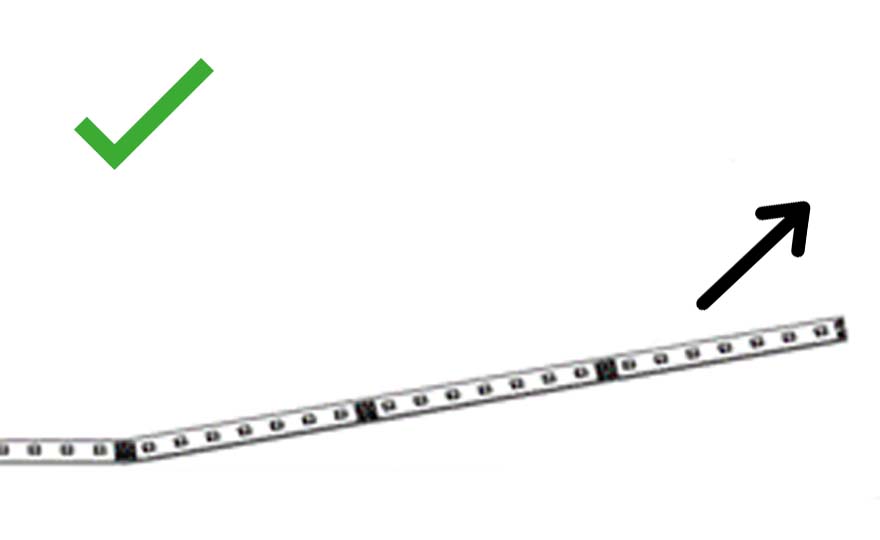
We do not recommend repositioning the LED strip after fixing and gluing. However, if this is unavoidable, please pull the strip carefully upwards at as flat an angle as possible and do not bend it! See the following picture.
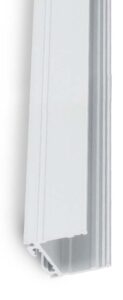
Fastening LED strips in aluminum profiles
Ideally, the LED profiles should be mounted in front of the LED strips. This results in less mechanical stress due to bending on the adhesive strips of the LED strips. In addition, the profiles can be mounted better and more stably. They are usually drilled out in advance and mounted at the installation site using countersunk screws. There is also the option of suitable mounting clips for LED profiles. Once the profiles have been cleaned, degreased and dried, you can glue the LED strips in place.
Connecting, shortening and extending LED strips
Shortening LED strips
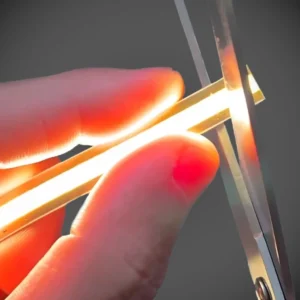
LED strips can be shortened at the marked points. Depending on the LED strip, the distance between the dividing units varies between 3 and 10 cm. An exception to this is the cutanywhere LED strip, which can be cut anywhere. Commercially available scissors are just as suitable for shortening as sharp side cutters. Make sure the cut is as straight as possible and carry out the work step before fixing the LED strips.
Expert tip: If you know that the end of the strip will never need to be extended, do not cut in the middle of the marked area, but slightly before it. This will give you much larger pads for further processing on the remaining strip.
Connecting LED strips
There are various ways to extend your LED strips. The classic method is soldering LED strips. It is a very reliable and, above all, durable solution, but also requires skill and dexterity. A little patience and manual dexterity are required, especially in hard-to-reach places.
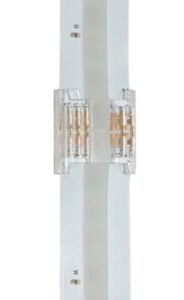
LED strip connectors are an alternative. This practical option is particularly popular with non-professionals, as the LED strips can be connected without soldering. The quick connectors(= click connectors) are also available in a wide variety of designs. These punched connectors are available for direct, spaceless extension of the strips as well as with a cable in between. These variants are also extremely popular for creating corner connections. Connecting cables are also available, as are universal connectors. This even allows you to create T and cross connections from 3 or 4 strips!
Pay attention to the polarity of the LED strips. Connect + with + and the respective color channels (R, G, B, W) correctly with each other again
Connecting and dimming LED strips
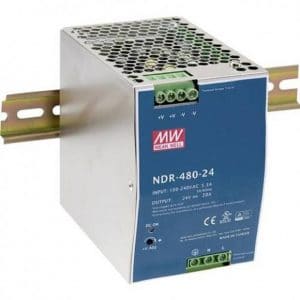
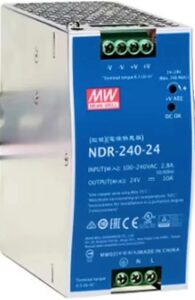
Power supply unit for LED strips
The LED strips are supplied with a 24V power supply unit (the required voltage depends on the respective LED strip!), which supplies DC voltage! Just pay attention to the polarity of the connections and the strip can be connected. The following points must be taken into account:
- Pay attention to the correct polarity! The + and – connections are clearly labeled on the LED strips
- The power supply unit (sometimes also referred to as the LED driver ) must be sufficiently dimensioned, i.e. provide enough power. Calculate the total consumption of the LED strips and allow for some reserve. To help you choose the right power supply unit, visit our blog post: Which power supply unit for LED strips?
- LED strips with a length of up to 5 meters can be supplied on one side without any problems. For lengths longer than this, please read the detailed description in the next section.
How often and where do I have to feed in?
LED strips of 5m are the standard and for good reason. This length should not be exceeded for a single-sided supply. The entire current must be conducted over the 5 meters of LED strip and a voltage drop occurs. If additional LED strips are connected to the existing ones, they will emit significantly less brightness. However, to realize longer LED installations, you must feed the LED Stripes more often. If you attach LED strips up to a length of 10 meters, the strips must be fed in either on both sides or in the middle! The universal connectors in particular make your work easier here.
LED strips over 10m should be divided into individual segments with a maximum length of 10 meters each. These individual segments have a separate supply cable, but can be supplied via the same power supply unit + dimmer if the output of both components is sufficient.
Incidentally, these recommendations apply to all LED Strips 5m, regardless of their output!
Dimming and color adjustment of the LED strips
To do this, you need a so-called PWM dimmer (also known colloquially as an LED dimmer ). This is connected between the LED strips and the power supply unit. When selecting a dimmer, make sure that it supports the required voltage and power of the strips.
Example:
With a 4-channel PWM dimmer, you can operate up to 12 meters of COB RGBW LED strip. After checking the voltage (both 24V), look in the data sheet for the highest current/power per color channel. In this case it is 6W/m (watts per meter) for red. The dimmer supports 72W per channel, resulting in 12 meters.
The dimmer can then be connected to your smart home and operated via the bus system (usually DMX bus or DALI).
Summary: Fitting LED strips is child's play
Please use the comment function to make suggestions and our customer service team will be happy to advise you personally.
Matching products from our online store
In addition to LED strips, you will also find a large selection of matching accessories in our online store. 24V power supply units for a reliable supply, LED strip connectors for connection without soldering and LED profiles for sufficient cooling.
Many more guides, tutorials and more
If you are interested in further exciting articles, we recommend our service area. There you will find numerous other informative articles (e.g. converting lumens to watts, light units, …), extensive tutorials & help with questions (e.g. 10 tips for selecting LED spotlights, the light emitting diode, …), free tools(online light planner) and much more:
popular posts on our blog:
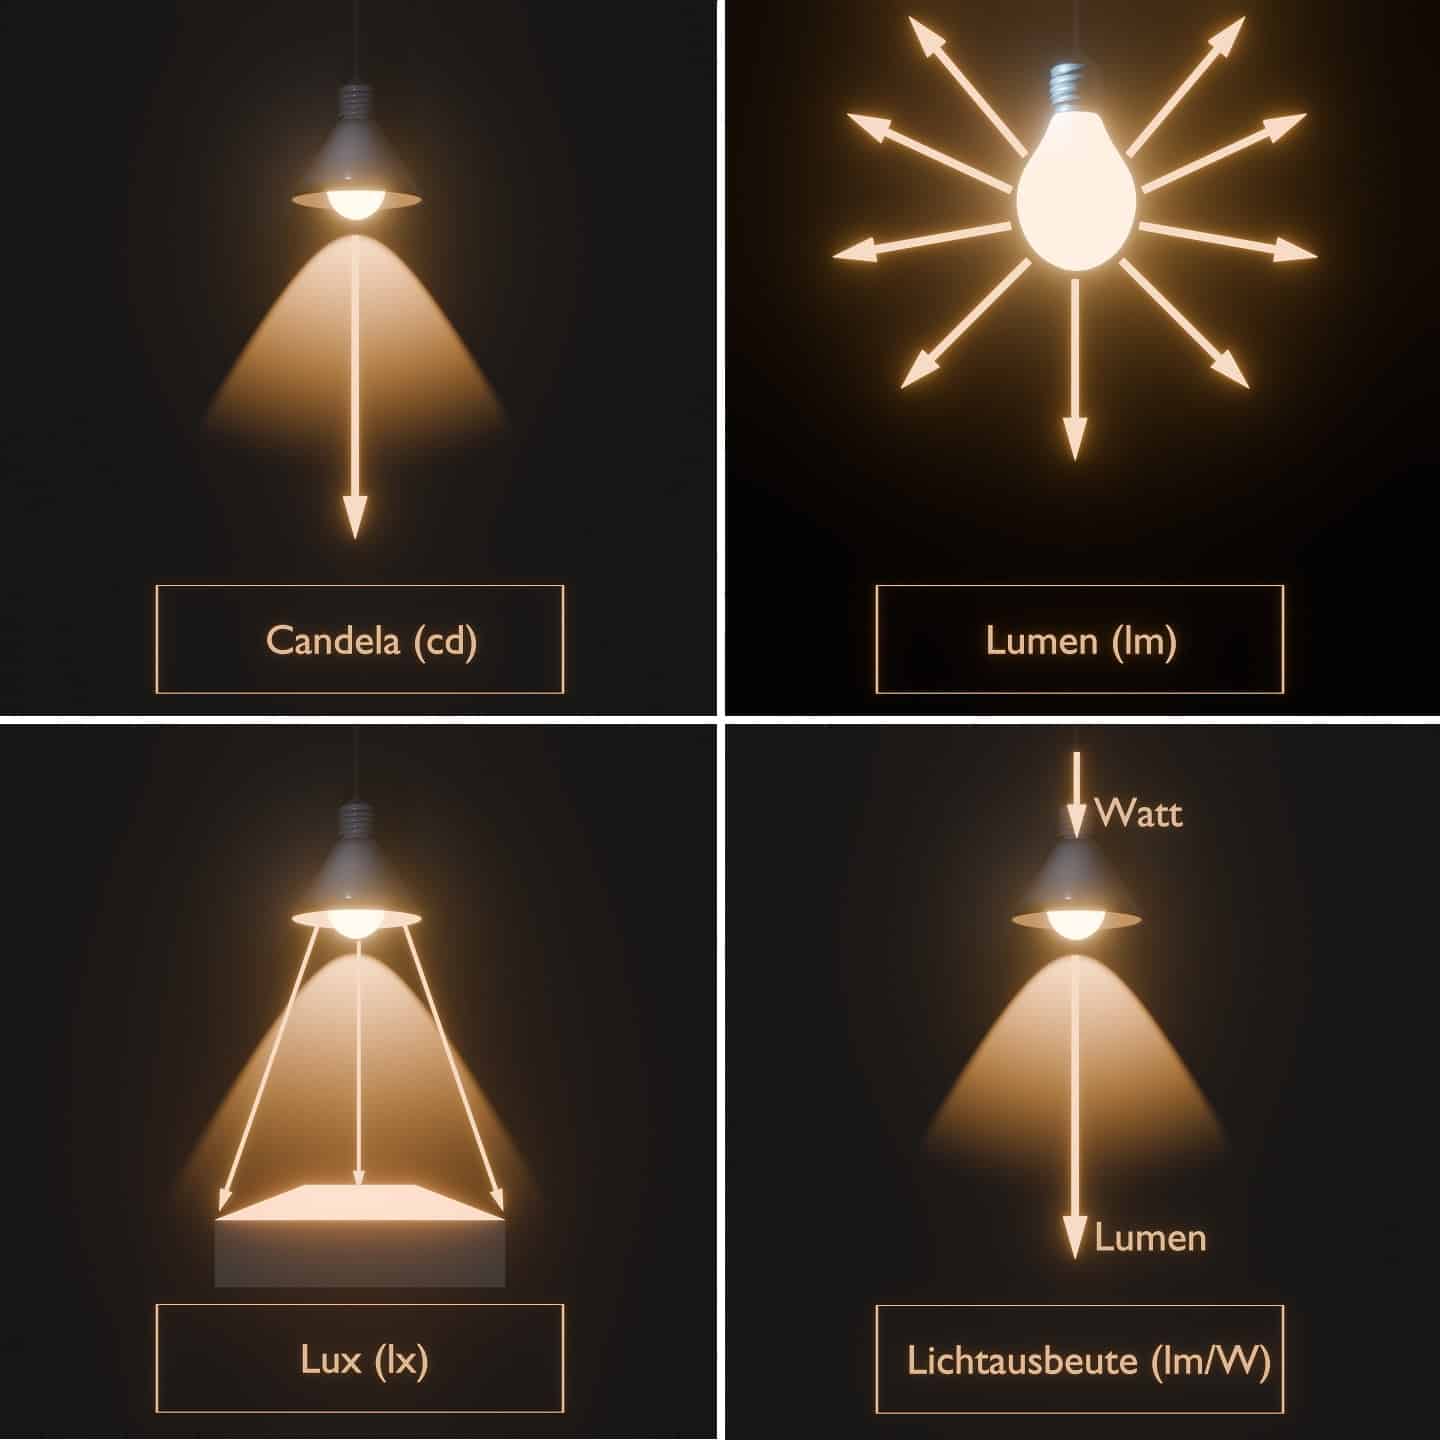
The most important photometric units are graphically compared and simply explained.
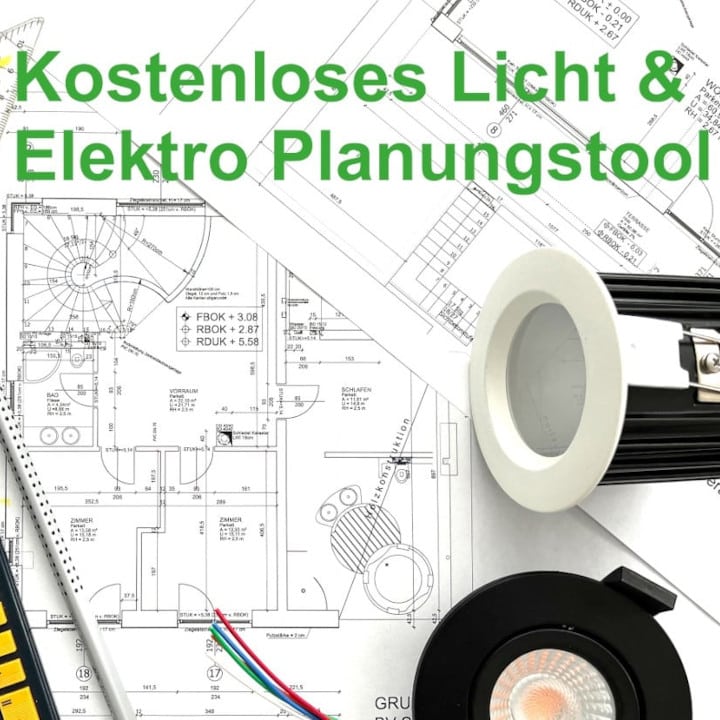
Many free tools – determine number of spots, voltage drop calculator, calculate power, and much more. – in one tool.
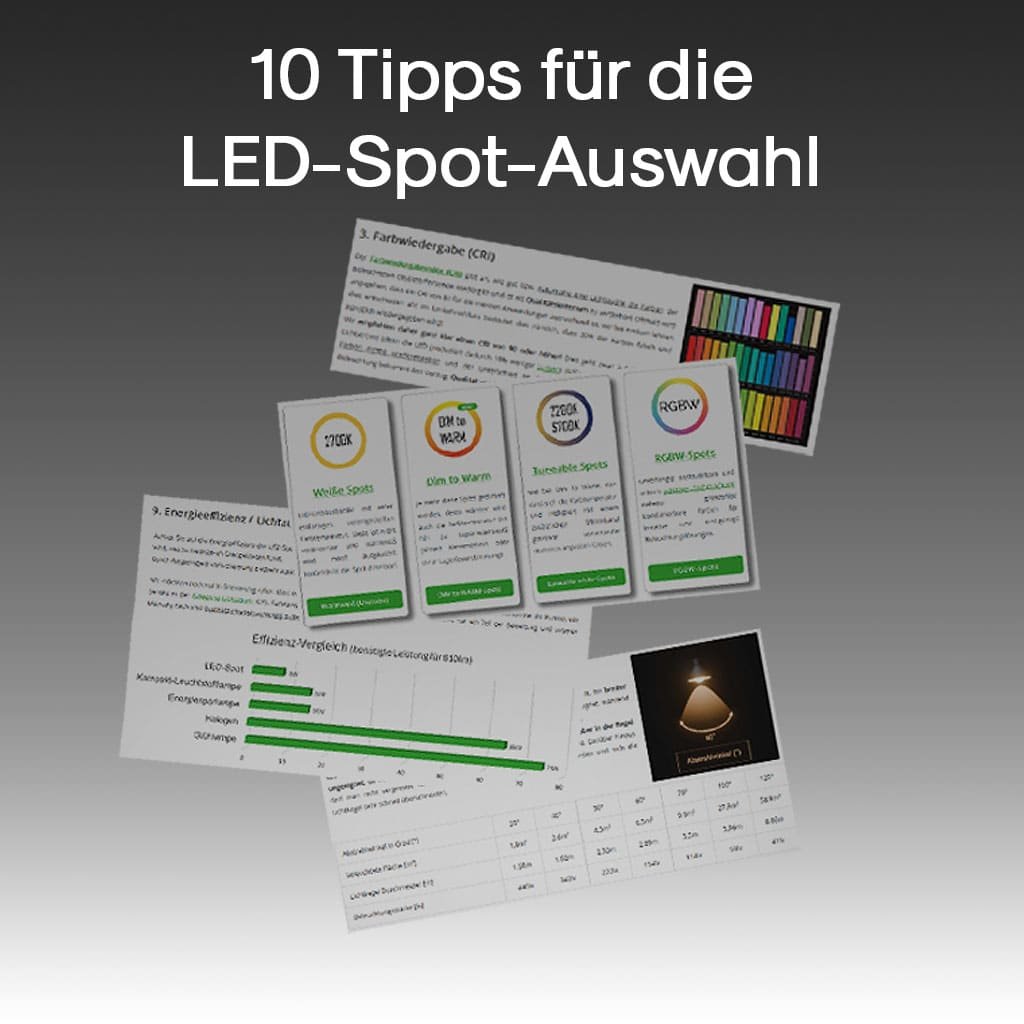
Simple and clear tutorial; What to look out for when selecting recessed LED lights and what can be dispensed with?